Installing Debian 8.5 Jessie - Step by Step Guide
![]()

Hi all! In the comments I was asked to describe Debian Jessie 8.5 step-by-step installation process. For some time, my hands simply did not reach the articles. So to say, there was a lot of work related to correcting errors on the site. Now everything is fine and you can continue to deal directly with the articles.
As many people know, Debian is the most popular Linux based distribution. Debian is used all over the world and is considered one of the most stable and productive systems.
There are a huge number of people involved in Debian development. Debian has a wide variety of development branches and releases stable service packs.
It currently supports about ten architectures and a huge number of packages. According to some reports, the update Debian distributionwill continue for several more years.
With all this abundance, Debian is great not only for ordinary users, but also for server specializations. What do we need from this? Of course the distribution itself. Let's start!
The content of the article:
- Step by step installation of Debian 8.5 Jessie
- Burning the installation image to a disk or flash drive
- Installing Debian from a flash drive
- Language, location and keyboard layout settings
- Creating Debian User Accounts
- Selecting a hard drive to install Debian Jessie
- Software selection
- Conclusion
Step by step installation of Debian 8.5 Jessie
For more specific information, you can visit the official Debian OS website. By the way, it is on it that you need to download the necessary image. The site can be accessed by entering the following link: www.debian.org into a search. Below is a page with available Debian images for download.

The installation image can be as small as it contains all the necessary software in a minimal installation. In this case, some packages will be downloaded via the Internet during installation. There are also CD and DVD images - with a complete set of software and additional packages. The image can be downloaded for the 32-bit version of the PC or 64-bit. You can download the installation image either from the official website or via the Internet. Once downloaded, move on to the next step.
Burning the installation image to a disk or flash drive
After the installation image has finished downloading, it must be written to media. The media role can be a CD, DVD or flash drive. There should be exactly as many media as there are installation images you downloaded. For example, if this is the minimum configuration, then a CD or USB flash drive will do. Several DVDs are required for a complete configuration.
You can write the Debian Jessie image to a USB flash drive using any suitable program. For example, a convenient solution would be the rufus program:

Installing Debian from a flash drive is similar to installing from a disk. There are no fundamental differences between them. Connect a flash drive or insert a disk. We select one or the other option as a priority download source and begin installing Debian.
Installing Debian from a flash drive
Next, we are greeted by the main boot window. In which there is a menu for choosing the method of installing the system. See image below:

In this window, you must select the method for installing Debian from a USB flash drive. By default, you click on Graphical install. If you set priority to 64-bit version. Then you click on 64 bit graphics install.
Language, location and keyboard layout settings
Select the required language for installation. If you speak English well, then calmly choose it from the list.

In the event that you don’t really need English, then we choose our native Russian. For example, I know English at a basic level, nevertheless I put Russian. Personally, it is more convenient for me to work in this mode, the reason is that I work with the site directly on the server. The power of my laptop is enough for all the necessary operations. The next parameter will be belonging to the region:

To take into account the time zone in the further installation process. You need to select an installation location. In this case, select "Russian Federation". The next step is to choose a keyboard layout.

Accordingly, we select the Russian layout and proceed to the choice of switching between languages.

By default, the way to switch the layout between the main languages is carried out using Alt + Shift. If it is convenient for you to use this method, then leave it as it is. If necessary, you can choose the option to switch between languages from the proposed list. After all these steps, the initialization and loading of all the necessary components for installation begins. Wait for this process to complete.

Creating Debian User Accounts
After the initialization is completed and the installation components are loaded. User data, accounts and network settings follow. The first one is the computer name:

You can install Debian by default. For the best security, it's worth coming up with your own name. Then comes the domain name:

Filling in this field depends on your preferences. If you are setting up a home or corporate network, you can specify the LocalHost name. Or the one that is necessary to implement your network. In the next step, you must enter the superuser password:

In these fields, you must enter the password of the superuser (root). Under this user, the entire server administration process is carried out. Accordingly, you need to come up with a password that is quite complex and write it down. Better write in a notebook! This is followed by the creation of a user account:
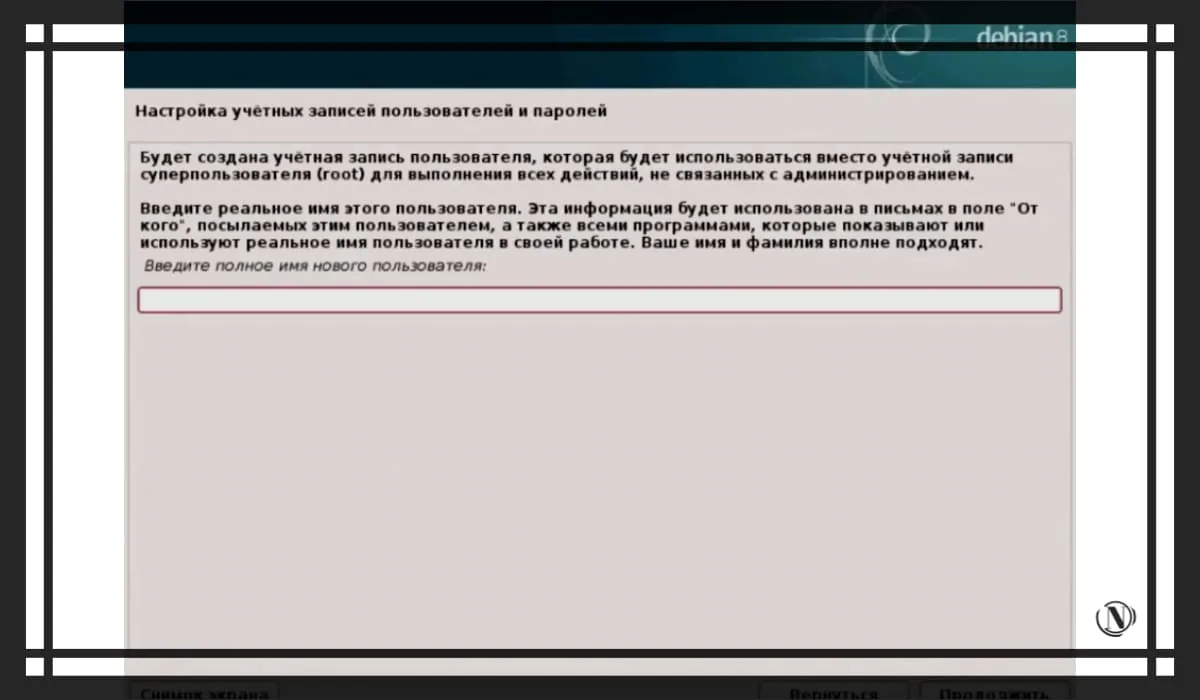
Using this account, all work will be carried out with superuser (root) rights. You can enter any name you can! It will be displayed in the system. I ask you not to use "Admin". Since in the specifics of our further work, this may cause an error. In the next window, you can leave the same name. Next, you need to specify a password for the created user:

As you already understood, with this password you will be logged into the system. Then it remains to set the time zone:

In this window, select the required time zone that matches your location.
Selecting a hard drive to install Debian Jessie
The following are settings related to the hard disk and its layout on the corresponding volumes. For most users, using the entire drive is fine.

I will describe a more detailed disk layout in the following example. Where we will be installing Debian 9 is not the latest distribution at the moment.
Let's move on to the next window:
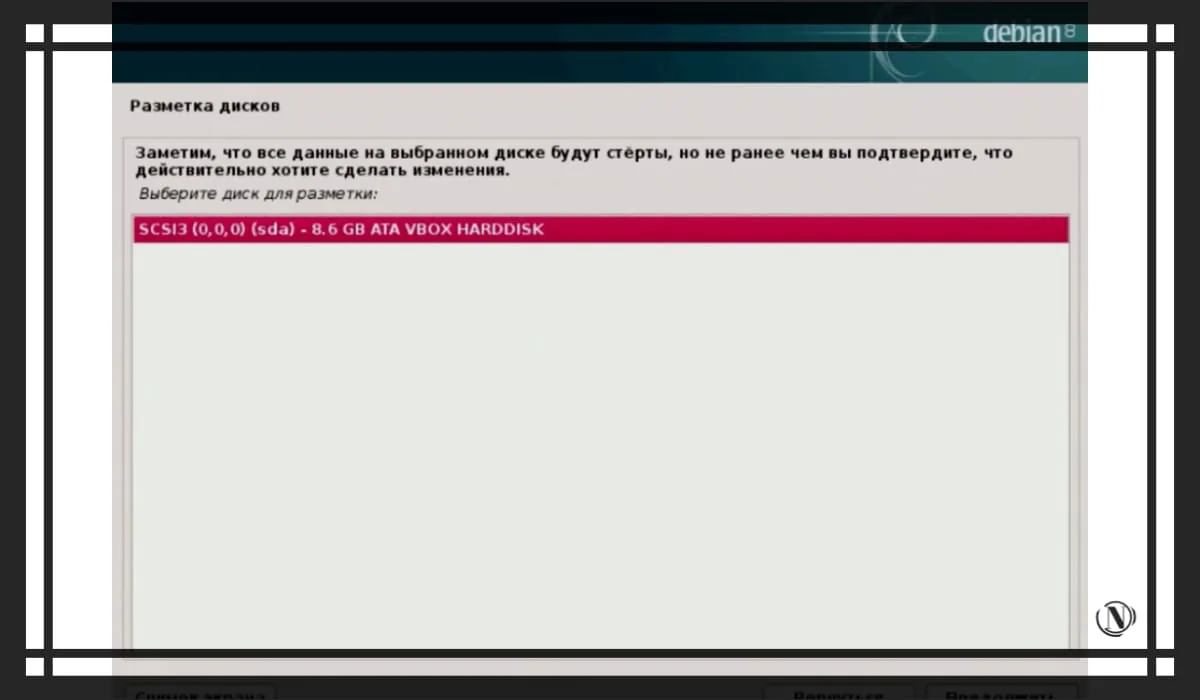
Most users have only one hard drive, select it accordingly and click on “Continue”. You will see a window for checking the disk layout table. The installation itself creates the necessary partition structure on the disk.

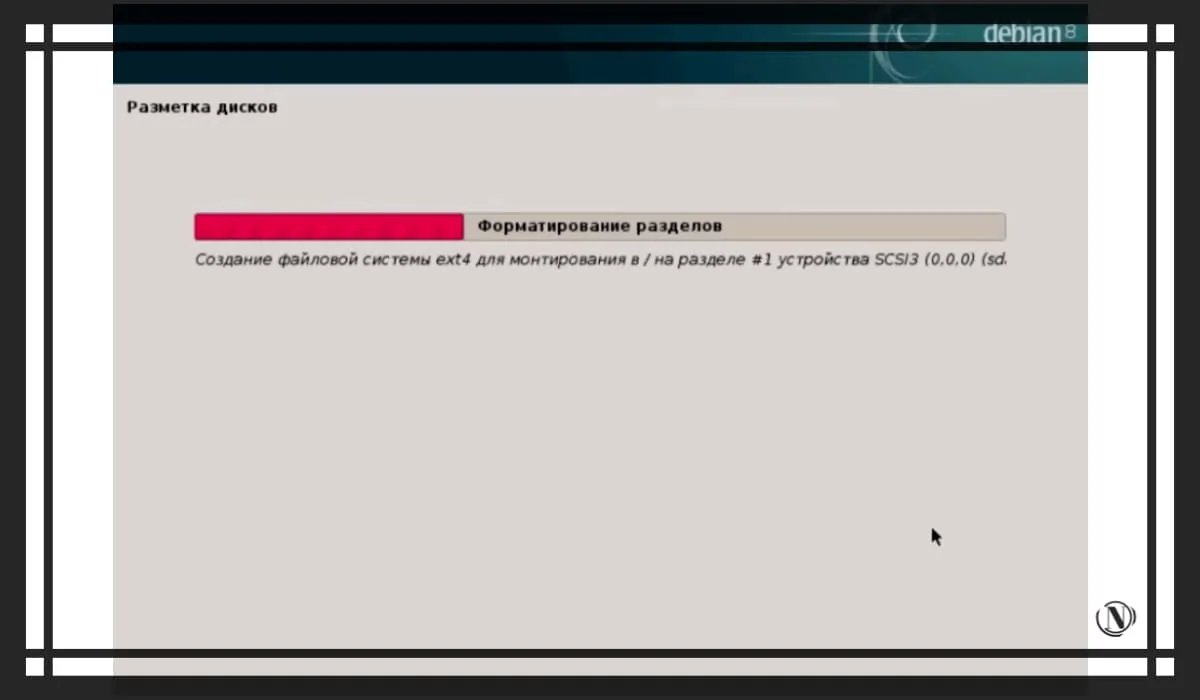
After checking the correctness of the markup, select “Finish markup and write changes to disk”. Next, the installer will notify you that all data will be erased from the hard drive. This will create a new partition structure. In simple words, the hard drive will be formatted.

Select "Yes" and click "Continue". After that, it remains to wait for the formatting to complete and the installation packages to be written to the disk.
When the recording of installation packages is completed. You will see a window with settings for anonymous messages to the developers of this system.

If agreed, the system will send reports to developers with anonymous Debian usage statistics. Here only at your discretion, I put "No". We are waiting for the completion of the software download and proceed to the selection.
Software selection
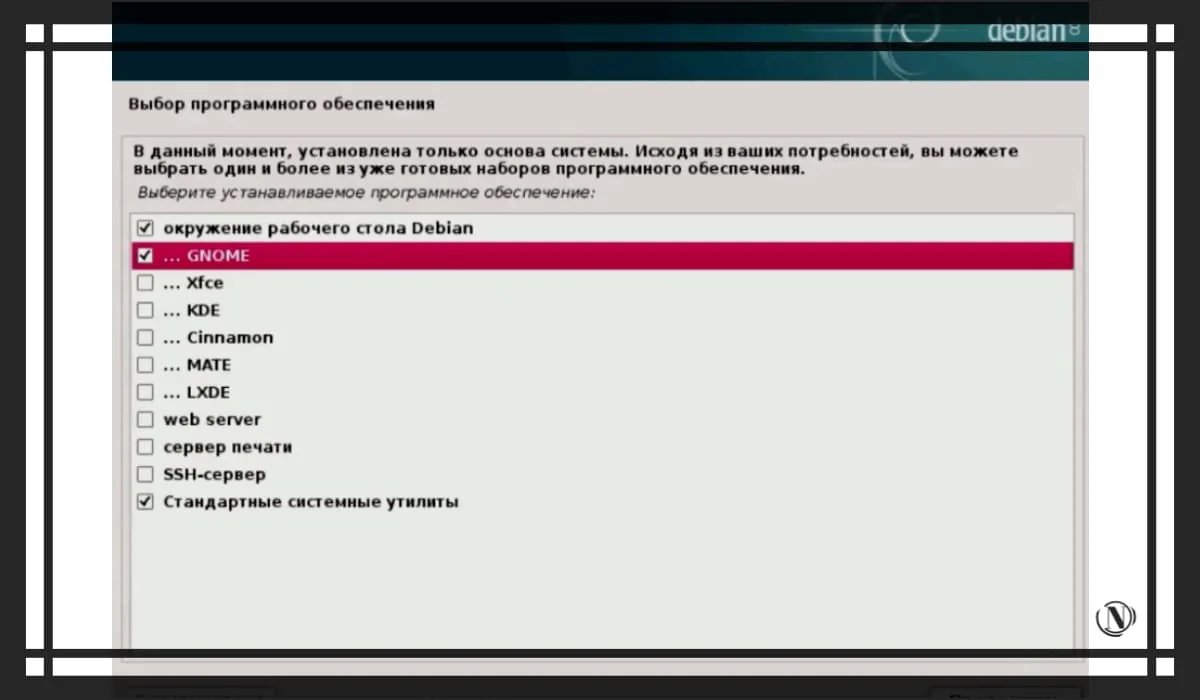
Let's start with the choice of software. If you don't need a graphical environment. Then uncheck the corresponding boxes. You can check the box next to the SSH server, you need it.
I work with a graphical environment and I like KDE. You can choose what is more convenient for you. Also, be sure to leave a checkmark in front of “Standard system utilities”, they are also necessary for the correct operation of the system. Then click on "Continue".
You need to wait a little longer, as the process of installing all the selected packages is in progress.

After the installation of all selected packages is complete. You will see a window with the installation of the GRUB bootloader on the hard drive. This is an important point, without it the system simply will not boot in case of possible problems in the future.

Accordingly, select “Yes” and continue. In the window that opens, you must select the device in which this bootloader will be installed. By default, this is your hard drive. We choose and continue.


In just a few seconds, the bootloader will install and you will see the Debian Jessie installation complete window.

At this point, the installation of Debian 8.5 Jessie is complete. You just have to log in with your credentials.
Conclusion
As you can see, everything is simple, despite the fact that there are a lot of images in the manual. The installation process is quite fast and will not take you much time. In this guide, I have described the standard installation. The reason is that new distributions of this operating system have come out. At the moment, Debian 9 Stratch, Debian 10 Buster, Debian 11 Bullseye have been released and there will be a separate detailed description for them. In which I will touch upon such aspects as: manual partitioning of disks, choosing a mirror of repositories, etc.
Reading this article:
Thanks for reading: SEO HELPER | NICOLA.TOP


Really old distributor. I was kind of afraid to install Debian 8 and Debian 9 already - but your guides are very constructive and I like your site. I installed Debian 10 following your guide. Great articles and designs. I like. While I'm testing, I'll see how to work with it. I know that there is already Debian 11 - I'm waiting for the installation guide and this release from you. Thank you young man.
Victoria, thanks again for your feedback. Yes, I do have plans to write a Debian 11 installation guide, and a Debian setup guide is in the process. These are very large articles with a huge amount of graphic content. Therefore, patience, everything will be)